Tag

right

Browsing

Cinnamon sugar tastes delicious on many desserts. You only need the two ingredients cinnamon and sugar – and in the right proportion. We explain how you can mix cinnamon sugar.

In most households, rice pudding and semolina pudding are never served without cinnamon sugar. But the right cinnamon-sugar mixture also goes well with yeast dumplings and other sweets and desserts.

Cinnamon sugar can be bought premixed in the supermarket. These not only come with additional packaging, but sometimes also contain other unnecessary ingredients such as flavors. That’s why we recommend that you simply make your own cinnamon sugar. So in the end there is really only cinnamon and sugar in the mixture – and you can adjust the ratio to suit your taste.

Mixing Cinnamon Sugar: The Right Ratio

Ultimately, of course, it comes down to individual taste as to the ratio of cinnamon and sugar that goes best together. However, a standard mixture has been established that tastes good to most people and can serve as a rule of thumb. According to this, the perfect cinnamon sugar is mixed in this ratio:
10 tbsp sugar
1 tbsp ground cinnamon
Variations: Some find this blend too sweet. In this case, you can halve the amount of sugar. In the low-sugar kitchen you can also mix cinnamon and sugar in a ratio of 1:1 – this will then have a much more intense taste.

Cinnamon sugar: which sugar and which cinnamon?

Sure, cinnamon sugar only needs two ingredients: cinnamon and sugar. But nevertheless, or precisely because of this, the quality of these is crucial:
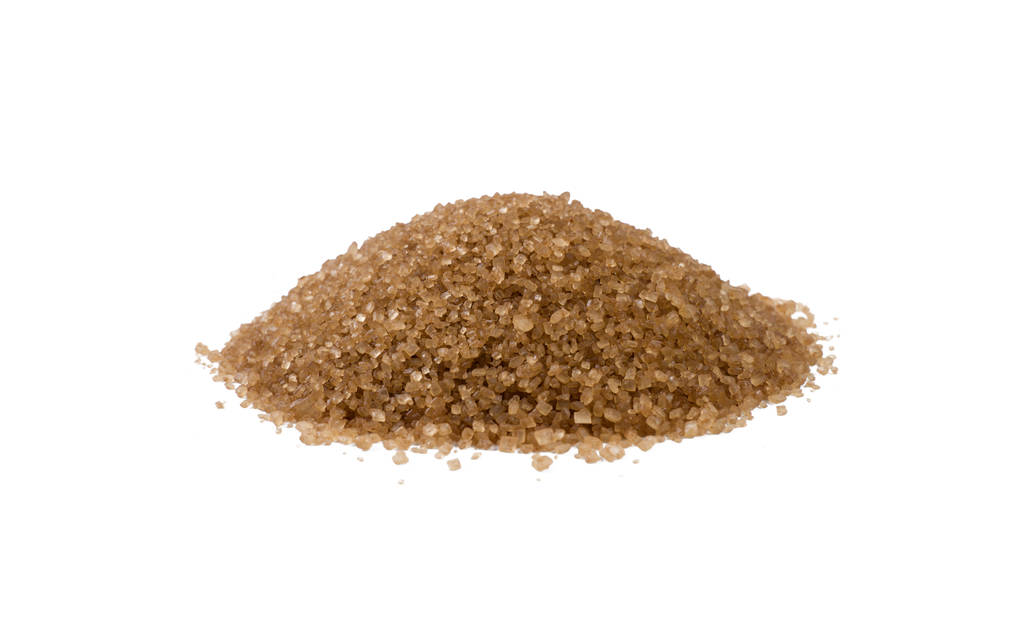
You can use either white or brown sugar.
Beet sugar, cane sugar and raw cane sugar: In our special article on the subject, we explain the differences and tell you what is important when it comes to sugar.
Alternatively, you can use a sugar substitute for the cinnamon sugar mixture. Above all, birch sugar (xylitol) and erythritol are recommended for this, as they behave in a similar way to ordinary sugar. Both sugar alternatives are suitable for diabetics.
When it comes to cinnamon, it mainly depends on the variety: Cassia cinnamon or Ceylon cinnamon. Cassia cinnamon is significantly cheaper, but contains more coumarin – a substance that can be harmful to health in larger quantities. If you frequently use cinnamon sugar, it is better to use Ceylon cinnamon.

An aromatic coffee can only develop its full flavor with an optimal grind and a suitable dosage.

The degree of grinding selected has a decisive influence on the taste of our coffee. Here we show you what it’s all about.

The correct degree of grinding differs depending on the preparation method and the type of coffee. If you want to prepare an enjoyable coffee, you should consider a few tips. If the dosage or grinding is incorrect, fewer aromas develop and the quality of the coffee is significantly reduced. The art of the right preparation is not that difficult to learn. Below we give you some helpful tips for a perfect grind.

In order to be able to choose the right degree of grinding, you first have to understand what grinding is all about. Let’s take a closer look at how coffee is made. The degree of grinding can significantly influence the extraction process. During this, water is poured through the respective ground coffee at a certain flow rate. Depending on the permeability of the flour, more or fewer aromas will unfold and be released into the coffee.

The degree of grinding should be individually adjusted depending on the desired taste and the type of coffee selected. Incidentally, flour that is too fine can lead to over-extraction, which would result in a bitter and unpleasant taste. The degree of grinding is therefore decisive for optimal coffee enjoyment.

Everything about coffee extraction

In general, a maximum of 30% of the ingredients in a ground coffee bean can be extracted. However, with such a strong extraction, a very intense flavor is achieved. The bitter substances of the extracted beans are so pronounced that one can hardly speak of an enjoyable coffee. The Specialty Coffee Association of Europe, SCAE for short, sets the benchmark for perfect extraction at around 18-22%. In this way, all the essential aromas dissolve and the coffee gets its typical aromatic taste. If you like your coffee a little stronger or weaker, you can of course choose a different grind. If aromas and strength are in a perfect relationship to each other, then all ingredients have dissolved optimally. Incidentally, the SCAE recommendation is based on a 50-year-old American study. Experience has shown that the extraction of most coffees has leveled off at these values ​​even today, so that the study provides a really good basis.

According to the SCAE study, overextraction occurs from 22%. From this point on, fine nuances no longer stand out and the bitter, unpleasant taste overshadows the individual flavors of the different types of coffee. The color of the coffee also changes to a disproportionately dark tone. So, during the grinding of a coffee, the extraction affects the final flavor and intensity. An espresso, for example, has an extremely dark crema and sometimes even tastes a little burnt. On the other hand, light and thin coffees are characteristic of under-extraction. These have very few components of the coffee bean. According to the SCAE definition, this occurs with extractions below 18%. The crema of the coffee in question is also light and thin. With very low extraction values, this can even be absent and only watery coffee water remains. When choosing your degree of grinding, you should therefore be between 18-22%. Experimentation also helps to find the right grind and thus create an individual coffee taste.

Individual coffee taste

The grinding degree of coffee does not alone determine how the coffee tastes afterwards. Of course, factors such as the choice of coffee bean and the brewing method as well as the dosage also play a decisive role. The grind also depends on the moisture and freshness of the coffee – you should always adjust the degree of grind here. The individual coffee taste has its origins in the coffee bean itself. With the right preparation, you can bring in more and more individual nuances and thus put together your personal favorite coffee.

Whether portion grinder, coffee grinder or other type of preparation, the degree of grinding is defined by individual specifications and personal taste. While many people like strong coffee, others prefer light nuances and a low intensity of taste. Choose a grind that suits your preferences or simply try different grinds.

Are you looking for the right beans for your fully automatic coffee machine? We explain to you what you should pay attention to when buying coffee beans.

Choosing the right coffee beans: you have to pay attention to this

In principle, you can use any bean for your fully automatic coffee machine, provided it is suitable for fully automatic coffee machines. However, this does not always make sense, since, for example, different beans are usually used for a black coffee than for an espresso. But one after anonther.

In order to find the right coffee for your fully automatic coffee machine, three points are particularly important:

quality of the coffee beans
Roasting of the coffee beans
Settings of the coffee machine
Ultimately, however, it also depends on your own taste, which you will probably only find out over time. Let’s take a closer look at each point.

Two types of coffee dominate world trade

There are around 40 different types of coffee worldwide, but only two dominate the market. The Arabica bean makes up around 70 percent of world trade, the Robusta bean just over 30 percent. The two beans differ in appearance and taste. The Arabica bean is longer, flatter and oval in shape. The caffeine content is lower compared to the Robusta bean, but it is said to have a finer, slightly sweet taste. The Robusta bean is slightly smaller and has fewer fats and lipids. Therefore, their crema is a bit firmer and is therefore often used for espresso.

Coffee bean or espresso bean?

Fully automatic coffee machines work fundamentally differently than filter machines. Instead of slowly filtering the coffee, the fully automatic coffee machine works with a pressure process. This pressure is what creates an espresso.

The espresso beans that you can buy in stores are usually a blend of different types of beans that contain a higher proportion of robusta. These ensure a strong, intense taste. With a mixture of Arabica and Robusta, you can benefit from the positive properties of both beans. This makes espresso beans ideal for use in your fully automatic coffee machine.

Don’t let the term “espresso bean” fool you. The term is somewhat misleading, because the so-called espresso bean is basically a coffee bean. However, beans used for espresso are roasted darker, have more caffeine and are stronger in taste. So it can be an orientation.

This can also be the case for medium roasted coffee beans. The use for coffee crema is often noted on the packaging.

Which beans are unsuitable?

Avoid caramelized beans for the fully automatic machine. The sugar can clog the grinder in the machine and in most coffee machines this is very difficult to reach and clean. Flavored beans such as amaretto or Irish cream are also not recommended for this reason.

Caution is also required with very oily coffee beans. If the bean is very shiny, essential oils are already escaping. This is a clear sign that they shouldn’t be using these beans. The lipids come out when the coffee has been roasted past the second crack. This is often the case with dark Italian roasts.

But that doesn’t mean that you have to do without the variety altogether. Essential oils can also leak out if you have stored the coffee beans for a long time. After buying, you should use the beans relatively quickly and only store them in airtight packaging.

Roasting: Which degree of roasting for use in the fully automatic machine?

In addition to good bean quality and the bean mix, the roasting of the coffee beans is of crucial importance. In principle, a distinction is made between light, medium and dark roasting. Some roasting masters even subdivide into five degrees of roasting and indicate their roasting as medium-light or medium-dark. The different colors are caused by different roasting times. A coffee bean has over 900 different aromas that are released at different roasting temperatures. Filter coffee beans are usually roasted lighter, while espresso beans tend to be roasted darker.

Note the drum roasting process, if specified. Because drum roasting is much gentler on the bean than industrial hot air roasting, where many flavors are lost.

One component in coffee preparation is often used: the filter. We will show you where it comes from, what different sizes and types of filters there are. As well as alternatives in case you don’t have a filter handy.

What is a coffee filter and what does it filter?

With a coffee filter you can make hand-brewed and machine-brewed filter coffee. However, the name is a bit vague. The coffee filter itself is actually the attachment that is placed on a pot or cup. A filter bag/paper filter is usually placed in the attachment before the filtering process in order to get the best possible result. However, the filter bag is also often referred to as a coffee filter.
A coffee filter can be both the filter holder and the paper filter.
The filter bags not only ensure that no coffee grounds end up in the drink, but are also responsible for other things: the oils and fats dissolved in the coffee powder are filtered out, giving the coffee a clearer taste. Even sediment does not get into the coffee through the filter. He also looks clearer.

Who invented the coffee filter?

In earlier times, the preparation of coffee was more complicated. Ground coffee was placed in a pot or similar vessel, then hot water was poured over it. After it had steeped for some time, the coffee was poured over a strainer when served to catch the coffee grounds. Pretty cumbersome, and there was almost always a little “Prütt” in the cup afterwards.

In 1908, Amalie Auguste Melitta Bentz from Dresden was so annoyed by the annoying coffee grounds that she thought of a solution. The first approach: She took a tin can, nailed holes in the bottom and lined it with blotting paper. A good idea, but very labor intensive in the long run. So she developed a prefabricated coffee filter as a holder with filter paper cut to fit, which she finally patented.

The holders were initially made of aluminum or sheet metal, but the filters were replaced by porcelain and ceramic filters in the 1930s. Bentz then founded the Melitta company, which is still known today and is named after her.

What types of coffee filters are there?

Nowadays there are many types of coffee filters or filter bags. We introduce them to you:

disposable filter

The disposable filter (filter bag) is placed in a filter holder made of porcelain, plastic or stainless steel. The filter paper consists of cellulose fibers that form very small pores. The paper should be bleached without chlorine and using the TCF process, since unbleached filter paper can distort the taste of the coffee. If no other is at hand, it can be rinsed out a few times beforehand. After use, the paper (if it is bleached) is disposed of in the residual waste, the coffee grounds can be put in the organic bin or on the compost. The filter holder can of course be used again. The disposable filter bag is used when preparing with the pour-over method and in conventional coffee machines.

permanent filter

Permanent filters are usually made of plastic, porcelain, cotton, copper or stainless steel. Which material you choose is entirely up to you. However, porcelain, stainless steel and copper filters are more durable than plastic filters. Due to the larger pores, permanent filters retain significantly less fat and oil than disposable filters. Here is a selection of permanent filters:

Porcelain filters often have a base with up to three holes through which the coffee is filtered. However, it only filters optimally if a filter bag is also inserted, otherwise coffee grounds will run through the holes when the coffee is brewed.
Copper filters are characterized by easy cleaning and it is also an antibacterial material.
Stainless steel filters do not deform and can be put in the dishwasher without any problems.
Cotton filters are very environmentally conscious and ensure a very authentic coffee taste.

micro filter

If you prepare your coffee with the AeroPress, a so-called micro-filter is used. This is a small round, bleached paper filter that is placed in front of the AeroPress screen. It ensures a still clear coffee taste without coffee grounds. Here, too, there is the alternative of replacing the paper filter with a metallic permanent filter.

What do the coffee filter size numbers mean?

The forest of names for coffee filter bags is confusing and opaque. Basically, the numbers only indicate the different sizes of the filters. The name also goes back to Melitta Bentz. Her company originally made the filters in seven sizes, numbered between 100 and 106. It was not until the 1960s that Melitta introduced a new numbering system that is still used today.

The idea behind it: 1×2, 1×4, 1×6 should indicate how many cups of hand-filtered coffee the filter is intended for. So 1×4 should be for four cups, 1×6 for six cups, etc. The 100 series was about different standards for different coffee machines.

Important: The 102 size is not the same as the 1×2 size. 102 is more like 1×4. For commercially available filter holders and coffee machines (which can boil up to ten cups), the 1×4 filter bags are usually used, which other brands often only have “4” or “No. are called 4”. With these, cans with a capacity of more than 800 ml can be filled.

What pore size should a coffee filter have?

The taste of the coffee is influenced by the pore size of a coffee filter. The Melitta patent states that the optimal filter has a pore size of 5 to 20 µm, which corresponds to around 0.005 to 0.02 mm. The pores are therefore hardly visible to the naked eye. The pores should not be smaller, otherwise the brewing process will take too long, which will make the coffee bitter. However, much larger is not good either. This would cause the liquid to run through the filter too quickly, which would deny a full-bodied taste.

How much coffee powder does the coffee filter need?

Optimal coffee enjoyment only occurs when the right amount of coffee powder meets the right amount of water. However, tastes differ. Some like the coffee rather strong, others rather mild. In addition, the type of roasting and the degree of grinding of the beans are decisive for the taste. The Special Coffee Association of Europe (SCAE) gives a guideline of around 60 grams of coffee for one liter of water. Converted to a normal cup of coffee with about 200 ml, this results in 12 grams of coffee powder. Would you like to learn more about the preparation of filter coffee? Then click on our article Prepare filter coffee.

How to properly dispose of coffee filters

After the coffee has been prepared, the paper filter can no longer be used. In general, kitchen waste of this type can be composted, but be careful: Only coffee filters that are unbleached can be safely composted. If it is bleached, you should only put the coffee grounds on the compost, the filter itself has to go in the residual waste. If you put unbleached coffee filters on the compost, you should make sure that the filter is no longer too wet. Otherwise it can easily mold.

Have you ever experienced this? The espresso tastes bitter even though you have used the best beans and invested in a high-quality portafilter machine? The solution to the riddle could be the degree of grinding. Because the correct degree of grinding of the coffee makes a significant contribution to the beans being able to develop their full aroma. Mamis Caffè explains what is important.

Aromatic or bitter: These factors influence the taste

How the coffee tastes depends on various factors. First of all, the type of beans and the growing area are essential. The type of roasting also determines how the aroma of Arabica, Robusta and Co. unfolds. Once you have found your favorite type and roasting method, it is up to you: the degree of grinding of the beans has a lot to do with how the finished coffee tastes.

This is how the degree of grinding affects the coffee

Whether you need fine, medium or coarse ground coffee depends on how you prepare your coffee. The decisive factor for the choice of roast is how long the powder comes into contact with the water.

If the coffee is very finely ground, it offers a lot of surface area and can develop its aroma quickly. A fine grind is therefore suitable for brewing methods in which water and coffee only meet briefly. If finely ground coffee stays in the water for too long, not only the delicious coffee aromas are released, but also bitter substances.

If, on the other hand, the coffee steeps in the water for a longer period of time, coarse grinding is recommended. The aromas dissolve more slowly from it.

Overview: Which degree of grinding suits your coffee?

There is no uniform numerical value that covers all coffee grinders. Basically, we differentiate between fine, medium and coarse when it comes to the degree of grinding. Not much can go wrong within these guidelines.

Fine grind

The consistency of the very fine degree of grinding is similar to that of flour.

It is suitable for:

mocha

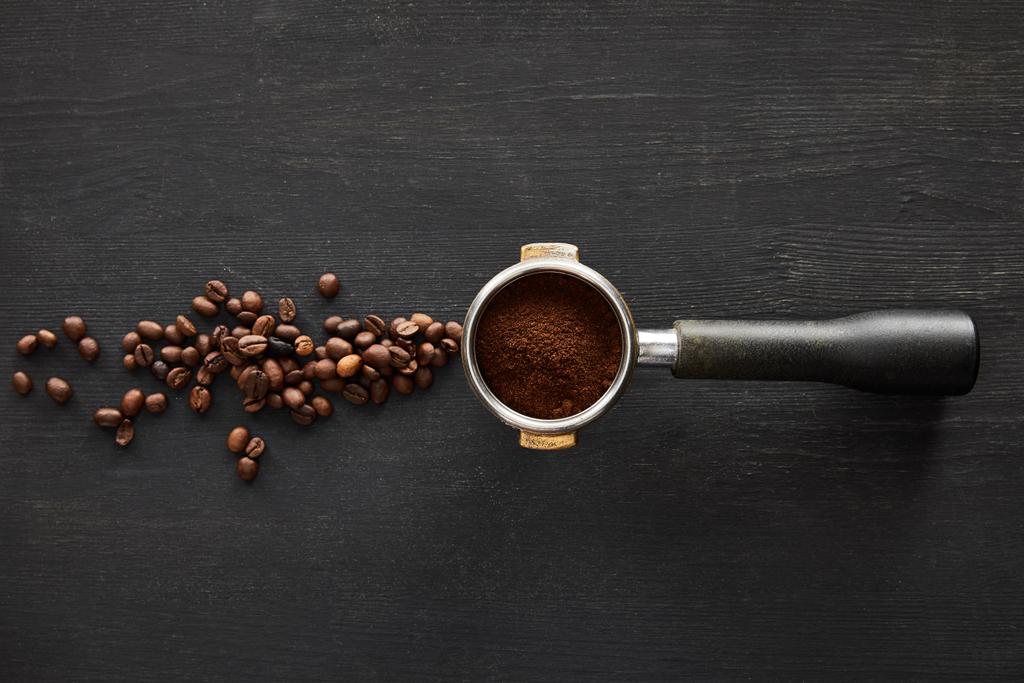
portafilter machine

fully automatic coffee machine

During machine preparation in a portafilter machine or fully automatic machine, water is pressed through the coffee powder at high pressure. In the very short contact time, the aromas have to unfold as quickly as possible. This is only possible with a fine grind. If the coffee were too coarse, the water would flow through too quickly and the coffee would be sour and too thin.

Medium grind

The consistency of the medium degree of grinding roughly corresponds to that of sugar or fine sand.

It is suitable for

Bialetti (espresso maker)

hand filter

Classic filter coffee maker

Aeropress

When preparing a filter coffee or an espresso in a pot on the stove, the contact time between water and coffee is significantly longer. The water drips through the filter or slowly rises out of the jug. The ideal degree of grinding is correspondingly coarser than with the methods using mechanical pressure.

Coarse grind

Coarsely ground coffee is similar in consistency to coarse sea salt.

It is suitable for:

French Press (strainer pot)

Siphon coffee maker

Carlsbad pot

Coarse grinding is ideal wherever the coffee powder steeps in the water for a longer period of time. Finely ground coffee would release too much aroma here and end up tasting strong and bitter.

You can store pumpkins well to make them last beyond the season. The fruit vegetables are ripe from late summer and accompany us through autumn and winter. We’ll give you a few tips on how to keep pumpkins fresh for as long as possible.

From the end of July the time has come: That’s when the first pumpkins will ripen. Pumpkin season peaks in September and October. The harvest goes on until the frost comes. After that, however, you don’t have to do without Hokkaido, butternut or nutmeg: Even in the winter months you can still prepare many delicious recipes from stored pumpkin, such as pumpkin curry, pasta with pumpkin, pumpkin lasagna or pumpkin risotto.

If you store pumpkins properly, they can last for weeks or even months. Exactly how long you can store pumpkins depends on the type of pumpkin and when it was harvested. Basically, pumpkins that are ripe and harvested in summer have a tender skin and spoil faster. Winter squashes, on the other hand, last longer, up to six months, thanks to their thick skin.

Storing summer squash: this is how it works

Summer squash include the patisson and the rondini. They are ripe from July and are harvested young, as that is when they are at their most aromatic. So that they don’t lose any of their taste, you should eat these pumpkins as soon as possible, because they cannot be stored for long.

The best way to store delicate squash varieties is in the vegetable drawer of the refrigerator, where they will stay fresh for up to two weeks.

As an alternative, pumpkins can also be frozen like zucchini. If you store a squash like this, it will last up to four months in the freezer.

Storing winter squashes: Only store them when they are ripe

Winter squashes have a harder skin and are therefore more robust and can be stored longer. The exact shelf life varies depending on the variety. You can keep Hokkaido for up to six months, while Musk Squash, which includes butternut, can keep for up to a year. If you want to store winter squash for as long as possible, there are a few points you should consider:

The right harvest time

While summer squashes are harvested as young as possible, winter squashes are different. Before harvesting, the pumpkins should be fully ripe. This is because the squash may otherwise still contain moisture. If you store a damp squash, it’s more prone to mold growth.

You can recognize a ripe pumpkin by the woody stalk and the fact that the skin has hardened, which means it can no longer be scratched with a fingernail. You can also do the tapping test: if you tap the skin on ripe winter squash, you should be able to hear a hollow sound.

If you have harvested a pumpkin that is not yet ripe but you still want to store it for a long time, you can let it ripen. Place it in a dry, bright place with a temperature of at least 20 degrees Celsius. There it will continue to ripen within two to three weeks. After that you can store the pumpkin.

Storing winter pumpkins: where and how to do it correctly?

The right storage location

It is best to store ripe pumpkins in a dark, dry place. The temperatures there should be between 12 and 17 degrees Celsius. Make sure it doesn’t get too cold, otherwise bearing rot could occur. Cellars are therefore only suitable as storage space to a limited extent, as it is often too damp and cold there. You play it safe if you use a pantry to store pumpkins. Alternatively, you can just keep them on a shelf in a room that’s not too cold or too warm.

The correct storage method

Before you store the pumpkins, you should check them:

Do the pumpkins have dents or scratches? In that case, it’s better to use them up straight away, because scratches or dents often lead to mold growing in storage.
If the gourds are intact, you can trim the stalk to about an inch. You shouldn’t remove it entirely.
Also, don’t wash the squash before storing it.
If you want to store several pumpkins, it is better not to stack them on top of each other. Instead, line them up side by side. You can use newspaper or pieces of cardboard as a base. This will prevent bruises from forming on the pumpkins.

Tips:

Storing cut pumpkins: If you have already cut open a pumpkin but have not used it all, it is best to keep it in the vegetable compartment of the refrigerator. You can either wrap it in a beeswax wrap or put it in a storage box with a lid. There the pumpkin pieces stay fresh for up to four days.
Preserving pumpkins: If you have more pumpkins than space to store them, you can preserve the fruit vegetables in other ways. You can pickle the pumpkins or use them to make pumpkin chutney, pumpkin jam, or pumpkin puree. These specialties freeze well in jars. Pumpkin compote is also a delicious way to preserve.

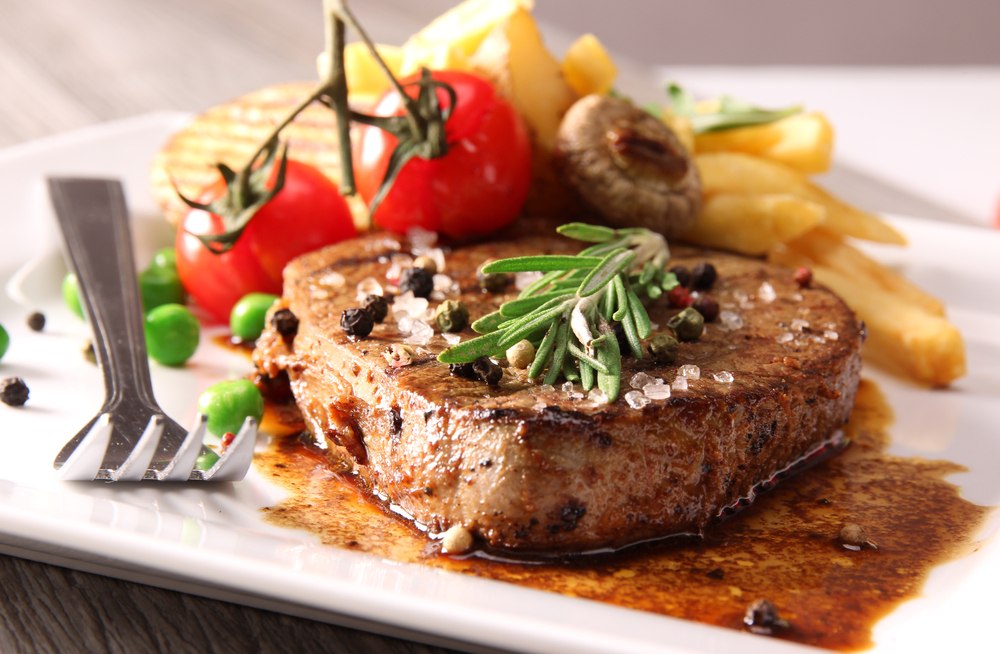
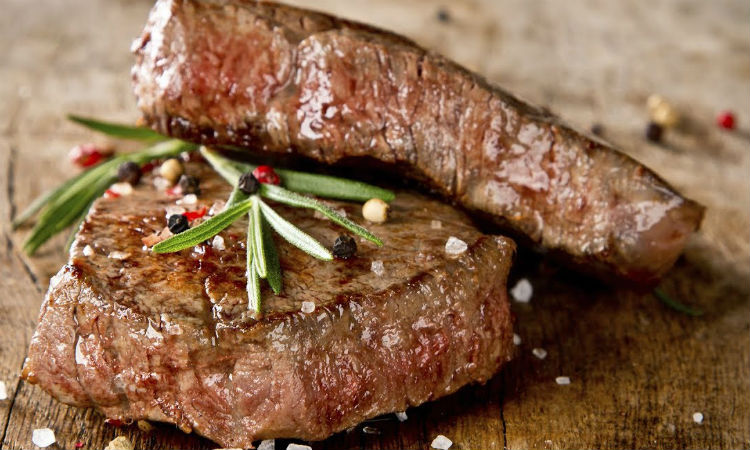
Today in the culinary world steaks are prepared from fish, veal, pork, and other meats, but beef is still considered a classic dish. An impeccably cooked steak can be a tough task even for a seasoned cook, as sometimes the meat comes out dry and tough, scorching on the outside before being cooked on the inside. To prevent this from happening, and the dish turned out to be correct and truly tasty, you should know some subtleties.

  1. For the steak, choose a beef tenderloin of a mature animal, but not old or young. The meat should be red or dark red in color, but not pink or burgundy. It is advisable to choose parts of the carcass with fewer tendons and powerful muscles, with fat evenly distributed throughout the piece.
  2. You can determine the softness of the steak with your finger by pressing on the raw meat – the finger is easily immersed, leaving a deep hole, which, after pressing, returns to its original position. If this happens, then the meat is good. If the hole does not expand, the meat is not fresh enough, and if it is difficult to press on it, the steak will be tough.
  3. For a tasty steak, the meat should be properly prepared – remove the film and upper tendons. Cut a piece that is not too thin, and at least 7 cm long. Otherwise, the meat will lose moisture, shrink and become dry. Then, in the center of the piece on the side where the fibers are located along, an incision is made to the middle of the thickness, and the meat is opened like a butterfly.
  4. The steak is marinated from 12 to 48 hours, and before going to the fire, it is well dried with a paper towel. The traditional marinade mixture is vegetable oil, soy sauce, wine vinegar, salt, and seasonings.
  5. The frozen stack is thawed in the refrigerator for 12-14 hours. After that, it is wiped dry and left for 20 minutes before marinating, so that it warms up to room temperature. It is not recommended to defrost the steak in the microwave. Since the top layers of meat are already starting to cook in defrosting mode, the middle remains cold. Subsequently, it will be difficult to get an even roast. Also, it is not advised to defrost meat at room temperature and in warm water.
  6. Meat is fried exclusively in a well-heated heavy frying pan or grill pan. In this case, the pan should not smoke, otherwise, the steak will burn on the outside, but inside will not have time to cook, which will turn out tough. During frying, the protein quickly curls up on the surface of the piece and prevents the liquid from escaping, so the steak is first fried over high heat for 1 minute on each side. This will “seal” the fibers and the meat will retain the juice, which means the steak will be juicy and soft. Next, the dish is brought to the desired degree of roasting at a lower temperature.
  7. The finished meat should be left to lie down for a while. During this time, the juice will be distributed inside the piece, the temperature inside and outside will equalize, and the steak will become warm, tender, and juicy everywhere.
  8. Serve the steak on warm plates, then it will not cool down so quickly. For use, you need sharp knives without chipping so that you can even cut the meat.

Frying a real steak is not an easy task. The chef shared the subtleties of the recipe: with this approach, the steak will certainly turn out to be juicy and very tasty.

  1. It’s worth starting with the choice of meat. The shoulder blade, neck and outer thigh of the hind leg do not fit. The edges should not be unnecessarily thin or thick.
  2. The ideal choice is tenderloin. This muscle is located under the ribs of the animal and almost does not move, the meat will be exactly soft and tender. A common mistake is not to peel the clippings before frying. This must be done, otherwise it will pull off the steak when frying.
  3. A thin piece of steak will not make the right steak. The height is not less than 2.5 centimeters, if you like to fry to the state of meat in the Tatar way, you can take a thicker one.
  4. When frying, rush will be in the way. You need to cook until medium rare. And when serving, it is customary to salt the meat already at ease – a steak is a dish of aesthetes.