Tag

perfect

Browsing

Your own diet is closely linked to the problems of our planet. With the “Planetary Health Diet”, experts have designed a diet that is intended to solve global problems – from pollutant emissions to diseases.

First of all: The nutrition plan of the so-called “Planetary Health Diet” is not necessarily vegan – although that would be the best solution in terms of the ecological footprint. But vegetables always play a central role.

The special feature of the Planetary Health Diet is that it focuses equally on the health of people and that of our planet. With this in mind, an international team of 37 researchers designed a special menu and published the result in January 2019 in the journal The Lancet.

How can 10 billion people be fed in 2050?

The experts on the panel, the “EAT Lancet Commission”, come from a wide variety of areas, from politics to agricultural science and health to environmental protection. The goal of their two-year research work: to develop a healthy and sustainable strategy for how the world population can be fed in 2050 – which, according to forecasts, will grow to 10 billion. And without the earth being exploited beyond its limits and without global problems such as civilization diseases, famine and global warming gaining the upper hand.

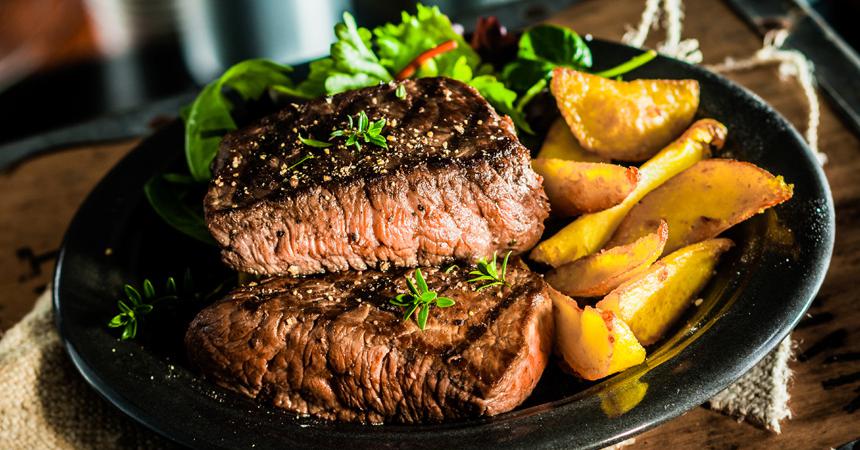
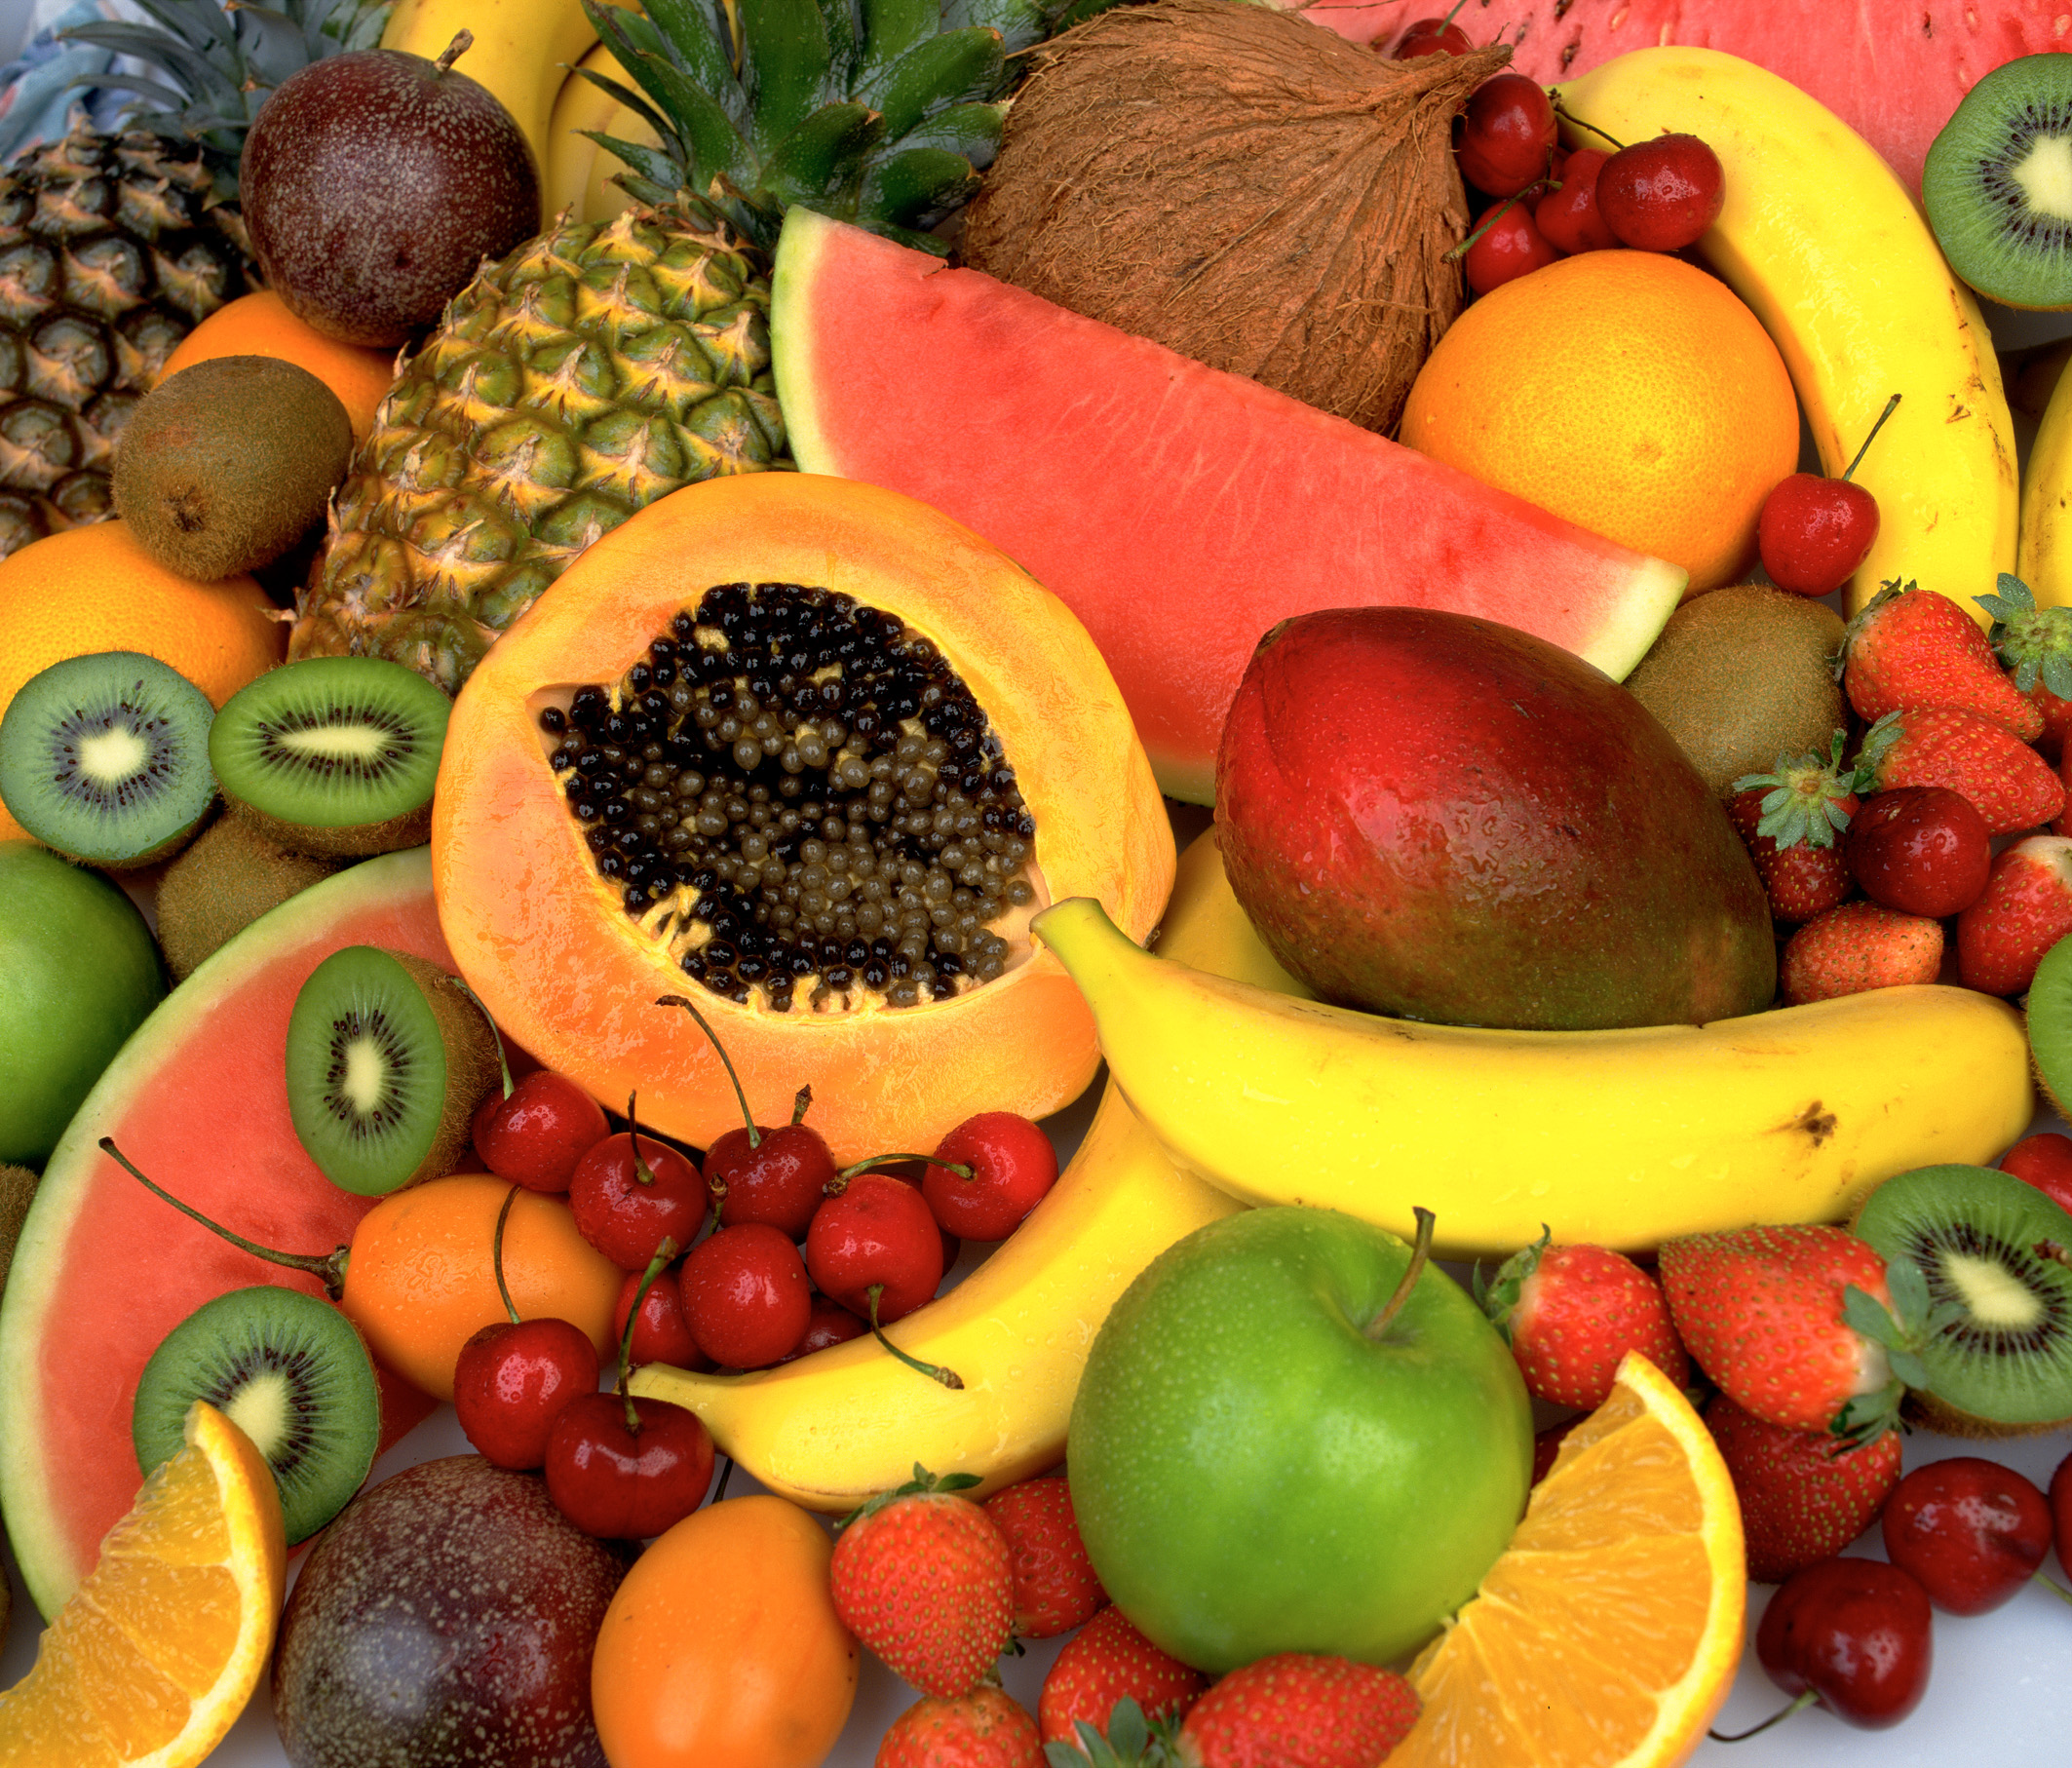
In plain language, this means that humanity must drastically reduce the consumption of red meat and sugar – by half. On the other hand, the proportion of vegetables in our diet must increase enormously. Fruit, nuts and legumes should also be consumed in large quantities.

This is what the Planetary Health Diet plan looks like

Vegetables: 300 grams (200-600 grams)
Dairy products (whole milk or products made from this amount): 250 grams (0-500 grams)
Whole grains (rice, wheat, corn or other): 232 grams
Fruit: 200 grams (100-300 grams)
Legumes: 75 grams (0-100 grams)
Nuts: 50 grams (0-75 grams)
Starchy vegetables (potatoes, cassava): 50 grams (0-100 grams)
Unsaturated fats: 40 grams (20-80 grams)
Sugar (all sweeteners): 31 grams (0-31 grams)
Poultry: 29 grams (0-58 grams)
Fish: 28 grams (0-100 grams)
Red meat (beef, lamb, pork): 14 grams (0-28 grams)
Eggs: 13 grams (0-25 grams)
Saturated fats: 11.8 grams (0-11.8 grams)
Of course, these are daily averages – after all, 28 grams of fish and 13 grams of eggs hardly make a decent meal. But there are guidelines that can help when putting together the food on the plate. In particular, the total of 300 to 900 grams of fruit and vegetables and the small amount of meat are conspicuous fixed points.

The values ​​in brackets mean that a range is provided here that allows the Planetary Health Diet to be implemented flexibly for everyone. For example, an interpretation of this model is possible in which no animal products are consumed at all – and also one for flexitarians who eat a small steak every two weeks.

Recipe ideas

Numerous recipes can be combined with the Planetary Health Diet. We have put together a small selection for you. Of course, these are only examples (in this case without meat and fish), and not a nutritional plan. Anyone wishing to try them must also consider other meals to ensure he or she is following all of the Planetary Health Diet’s recommendations.

Breakfast smoothie: delicious recipes for a good start to the day
Pumpkin Pancakes: This is how you prepare the spicy pumpkin patties
Frittata: A quick recipe that can be varied (caution: one serving already contains the recommended amount of eggs for a week.)
Chickpea Salad: A vegan recipe
Apple Muffins: Recipe with walnuts
Aloo Matar: Indian potato and pea curry

It’s about a new coordinate system

“We know that the world eats very differently,” says Jessica Fanzo, one of the study authors, on The Lancet podcast. “There is no one answer, there is diet,” adds her colleague Tim Lang from the University of London. It does not make sense, for example, to idealize the Mediterranean diet or to generally recommend eating fish to everyone in the world. Fanzo explains that the Planetary Health Diet is much more about providing a reference meal plan that can and should be adapted for any diet around the world.

However, the researchers not only have an eye on our eating habits, but also on other aspects such as food production and food waste. “It’s not enough for the United States to reduce its hamburger consumption while other countries don’t have these resources and options in the first place,” says Fanzo. It is about a new coordinate system that does justice to the challenges and complexity of the global food system. The aim is to create a win-win situation: for us and for the environment.

A rare hero admits that clothes as a gift are not exactly what he dreams of on his only men’s holiday. But what – at least as a “warm-up” before the main present – no real man will definitely refuse, is a juicy meat steak.

  1. Classification of steaks

According to the most popular classification, meat is divided into 3 types: marble steaks are steaks from a thick or thin edge (Ribeye, Striploin, New York), lean steaks from tenderloin (Mignon, Chateaubriand), and alternative steaks such as Machete, Tibon steak, Tomahawk. At home, you can cook almost any kind, the main thing is to be patient and understand the cooking technology of each.

  1. How to choose meat for this or that type of steak

The main mistake of those who want to get an appetizing steak at home is excessive savings on meat. A regular fillet of beef for cooking Ribeye, Chateaubriand, or any other type of steak you choose is not at all suitable, it will turn out to be very tough. It is better to buy marbled meat steaks from trusted butchers or take vacuum packaging with ready-made chopped steaks. If you take a cut of beef to cut the steaks yourself, opt for the most popular ones – Ribeye and Mignon.

The quality of meat for a Minion can be checked in the following way: a finger falls into a good cut, and after you remove it, the flesh quickly recovers. Rib-eye steak meat should be fairly marbled and soft, with streaks of fat. It is much more difficult to choose a quality Top Blade and not to confuse it with the stiffer part of the shoulder blade. It will be difficult for a layman to define quality, so it is better to stick to the classics.

  1. Is it possible to cook from frozen meat

You can also cook frozen meat steaks. The main thing is the correct defrosting process. The meat must be put from the freezer into the refrigerator a day before cooking so that the defrosting is soft and delicate. Then there will be no heat stress for the meat, which leads to a large loss of precious juice. Defrosting meat in the refrigerator will leave all the juice inside – and the steak will be soft and tasty.

  1. How to fry a steak at home and how to choose a frying pan

Frying a steak is most convenient in a grill pan or a regular skillet with a very thick bottom. The thick bottom of the pan ensures that after heating it does not lose its temperature and will keep it at the same mark for a sufficient amount of time. If the pan has a thin bottom, it cools down quickly, and the meat is not fried, but boiled in its own juice.

  1. How to prepare meat for frying

It is necessary to get the meat out of the refrigerator a couple of hours before frying and let it reach room temperature. If you do decide to cook an alternative steak, you need to marinate it (we’ll talk about this a little later). Half an hour before cooking, the meat must be freed from the film so that the tenderloin is slightly weathered around the edges and the meat is covered with a light crust, which during frying will help keep all the juices inside the steak.

Salt and pepper the meat only after cooking! On this, I would like to focus special attention. Salting the meat before or during frying will help the juices flow out, which can make the meat tough.

  1. Steak cooking technology

For the preparation of marbled steaks (Ribeye, Striploin, New York), you need to use a minimum amount of oil, giving preference to olive oil. The cooking technology is quite simple. Place the meat in a well-heated frying pan and fry for 2-3 minutes on each side, then reduce the heat to low, cover the steak with a lid and let it stand for another 1-2 minutes. Please note that the longer we leave the steak covered, the higher the degree of doneness will be. For marbled steaks, medium to medium-well roast is best. At the end of cooking, you can add garlic, rosemary, thyme, or chili pepper.

Lean tenderloin steaks (Mignon, Chateaubriand) are prepared using the same technology, but with a lot of oil. After we fry the steak on both sides and it acquires a golden crust, add butter to the pan and reduce the temperature to medium. We continue to fry the meat in a mixture of butter and olive oil, constantly pouring it with the juice that comes out of the steak itself. This will give the steak the right roast.

Alternative steaks (Machete, Tibon, Tamaghawk) must be marinated in herbs in advance. To make the meat softer, you can add a little mineral water to the marinade. For alternative steaks, medium doneness is better. It is not recommended to consume this type of steak with blood.

  1. How to determine the degree of doneness

Do not forget to control the degree of doneness! To determine it, it is better to use a thermal needle. Each degree of roast has its own ideal temperature: Rare – 40-43 degrees, Medium Rare – 44-46, Medium – 47-50, Medium Well – 55-57, Well Done – 60 and above. If you do not have a thermal needle at hand, you can try to determine the degree by touching with your finger. If the steak is too soft, it is not cooked enough, the meat is still raw. If the steak is dense, then the roast is high. You should not cut the meat to check readiness, as the juice will immediately flow out of the meat.

  1. Spices and sauces for steaks

The more laconic the spices on the steak sound, the better. Therefore, do not use more than 2-3 spices at a time. Rosemary, garlic, and in rare cases – thyme are ideal for steak. To convey the aroma of these spices to the dish, it is enough to put a sprig of rosemary or a clove of garlic on a ready-made steak, the meat itself will take on their rich aroma.

There are many sauces with which it is proposed to complement the taste of the steak, for example, a sauce based on fresh herbs. To prepare it, you need to take 20 grams of fresh parsley and cilantro, half a head of garlic, chop them finely and finely with a knife until they form a gruel, add a little black pepper, salt, and chili, and pour over with olive oil. It makes a wonderful sauce that goes well with any steak.

Another quick and delicious sauce is French. If you want to make it, take your time to remove the pan in which the meat was fried. Remove the meat, put the pan on medium heat, add a little red wine, butter, chicken broth, salt, and pepper. Cook the sauce over medium heat to the desired consistency. You can add not only wine and spices but also cream, interesting Asian sauces like Teriyaki – here you can give free rein to your imagination!

  1. Side dishes for steak

In this matter, everything, of course, depends on the person – who likes what more. But from the point of view of physiology and proper nutrition, it is better to eat the steak along with fresh or fried vegetables. Grilled vegetables or red fresh tomatoes with onions and herbs are the most ideal options.

  1. Serving and serving

One of the main rules of a perfect meal: steak should be served immediately. Steak is an independent dish, simple and straightforward. You should not invent an original serving, the main thing is the unsurpassed taste of the steak itself.

Enjoy your meal!

We often don’t cook steaks at home because they are less juicy than in restaurants. In fact, making the perfect steak at home is a snap if you know the secrets and subtleties.

Mastering the art of making juicy and mouth-watering steaks is easy. The main thing is to strictly follow several rules and remember the difficulties that both beginners and regulars of the kitchen may encounter.

  1. The steak should only be prepared with fresh, chilled meat. The meat is usually brought to room temperature before frying. If the steak has been frozen, leave it in the refrigerator overnight. Wipe the meat dry before starting the cooking process.
  2. The width of the meat is also very important. Ideally, this is a piece of 2.5 to 4 centimeters.
  3. If you cut the meat yourself and at home, then it is worth remembering one simple rule: cut it strictly across the fibers.
  4. For steak, use a heavy skillet or grill pan. They make it easier for you to control the temperature and the frying process in general.
  5. It is important to preheat the pan correctly. It should be very hot, but not smoke. Otherwise, the meat will burn on the outside before it has time to cook on the inside. The steak should sizzle as it touches the surface of the pan.
  6. It is better to start frying meat at high temperatures, and then switch to lower ones. This will ensure even roasting and prevent the meat from losing its flavor and color.
  7. Typically, cook a medium-rare steak for 4 minutes on each side. Meat with the blood takes 1-3 minutes. A fully fried steak is fried for 3 minutes on each side over high heat and then cooked until fully cooked for 6-8 minutes. However, you should still carefully monitor the meat, because the cooking time can vary depending on several factors.
  8. The steak can be flipped frequently. This will ensure even frying, and the edges of the steak will not dry with this technique. If you decide to turn it over rarely, only 2-4 times during the cooking process, then the final result will be a beautiful lattice pattern. However, only if you are grilling the steak.
  9. You can check the readiness of the steak with your fingers. To do this, lightly press down on the steak with your fingertip. The bloody steak is soft and pliable to the touch; well done – hard; medium roast is a cross between the two previous options.
  10. After the meat is ready, you need to remove it with special cooking tongs and leave for 10-15 minutes. If you are afraid that the steak will cool, then use food foil. You should not neglect this rule, because this is the only way to get a really juicy, mouth-watering, and delicious dinner.
  11. The steak is best served on warm plates. Knives must be sharply sharpened.

Prepare the same steak as in a restaurant? Easily. The meat tenderloin will turn out to be wonderful in taste and appetizing in appearance if you learn these simple rules. And an open fire with a grate can be replaced with a frying pan.

  • Secret # 1: you need the meat of a young bull, not a cow. For this steak, only bull meat is used. Not cows! Moreover, the animal must not be older than 20 months. Such meat is distinguished by its special juiciness and taste. And in its raw form, it looks a little dry, liquid should not flow out of it. The shade is deep red. If you touch it, the effect of a silky-smooth surface will appear. An important nuance: the meat for the steak should be matured, slightly rest in a cool room. Ideally dried. Fresh meat, only after slaughter, is not suitable for a steak – the dish can come out tough. Even marbled meat!
  • Secret number 2: marbled meat is desirable, but not at all necessary. It is commonly believed that the most delicious steaks are made from marbled meat – VIP steaks, elite, gourmet cuisine. Thanks to the intramuscular fat, such meat looks like a marble pattern, and after frying the fat it gives a unique taste. Not all meat breeds of bulls are “capable” of this. In Russia, this is Hereford, Aberdeen Angus, which sellers can proudly tell you about.
  • Secret number 3: Choosing the right piece. A steak is essentially a piece of meat that has been fried in a pan or over a fire. But meat is different from meat. Depending on the type of meat, steaks are divided into classic and alternative. The classic is carved from the dorsal or lumbar part of the bull. Each has its own name, usually, it is on the price tag. The main ones: ribeye, aka “cowboy”, club, tailbone – on a T-shaped bone, porterhouse, aka double steak, striploin, aka “New York”, and mignon. Each has its own flavor, color, and even juiciness. To choose the perfect one, you will have to try each one! However, they are all good.
  • Secret number 4: choosing a pan with a thick bottom. A modern grooved beauty or grandma’s cast-iron punt is not the point. The main thing is the thick bottom because it accumulates heat and even gives it to the steak. Alternative steaks are marinated in red wine, soy sauce, tomato pulp, onion, or pineapple juice for at least half an hour before being sent to the fire. Then the meat should be dried with cooking napkins. Necessarily! It should come dry into the pan.
  • Secret number 5: fry without unnecessary spices. The taste of a classic steak is formed by two spices: salt and black ground pepper. But if there is a craving for experimentation, you can add little caraway seeds and pink pepper. The pepper must be freshly ground. In the case of alternative steaks, add it when the meat is dry after marinade.
  • Secret number 6: choose the degree of doneness. As you know, there are no comrades to taste. Therefore, steak masters use different degrees of roasting of meat, there are only four types of them. Knowing them will come in handy when communicating with a waiter in a restaurant. And for home cooking, it is important to know the temperature inside the finished piece. You will have to regulate it with a kitchen thermometer or experimentally. Depending on the degree of doneness, cook the steak for three to nine minutes.
  • Secret # 7: fry in butter. Frying steak oil is the source of the flavor. It is customary to fry steaks in butter, the taste is softer. To make the steak as close as possible to the “live” taste of meat, you need to fry in odorless vegetable oil, especially if you like Too Well Done – a deep-fried steak without juice when the temperature inside reaches 100 ° C. This heat will burn the butter and ruin the steak.

It’s actually pretty easy to make a great steak. The main thing is to be attentive to the process. For a truly perfect steak, follow the six basic rules.

  1. Remove the steak from the refrigerator 15-20 minutes before cooking.
  2. Blot the meat with a paper towel to remove excess moisture.
  3. Season with salt and pepper and let sit at room temperature for 10-20 minutes.
  4. Prepare your grill for direct high heat (230-290 ° C).
  5. Cook the steak for 1 minute per centimeter of thickness on each side (that is, if the steak is 3 cm thick, then 3 minutes on each side). This will give you a medium-rare steak.
  6. Remove the steak from the grill and let it “rest” on the board as much as you grilled it (read our other article on why steaks need “rest”). Season it again with salt and pepper to taste, and then serve.

Filet mignon, ribeye, chateaubriand … Even if you are not a “meat-eater”, then from these words, for sure, you want to immediately eat a delicious and juicy steak. Where to buy the right meat, how to cook it, and what to serve with – we asked the chefs of fashionable Moscow restaurants.

  1. For the preparation of marbled steaks (Ribeye, Striploin, New York), you need to use a minimum amount of oil, giving preference to olive oil. The cooking technology is quite simple. Place the meat in a well-heated frying pan and fry for 2-3 minutes on each side, then reduce the heat to low, cover the steak with a lid and let it stand for another 1-2 minutes. Please note that the longer we leave the steak covered, the higher the degree of doneness will be. For marbled steaks, medium to medium-well roast is best. At the end of cooking, you can add garlic, rosemary, thyme, or chili pepper.
  2. Lean tenderloin steaks (Mignon, Chateaubriand) are prepared using the same technology, but with a lot of oil. After we fry the steak on both sides and it acquires a golden crust, add butter to the pan and reduce the temperature to medium. We continue to fry the meat in a mixture of butter and olive oil, constantly pouring it with the juice that comes out of the steak itself. This will give the steak the correct finish.
  3. The degree of readiness of meat is perceived differently by everyone. For some, meat with blood is ready, for others it is unacceptable. So rely on your taste here. You can also use a thermal needle (electronic probe) or, even easier, cut into the middle piece of meat. You can also determine with the help of your hand (this method is usually used by chefs since incised meat in a restaurant indicates the low skill of a brazier chef).
  4. And one more simple way: If you spread your palm, relax your hand and press with the index finger of your other hand on the soft area between the thumb and the base of the palm, then you will understand how raw meat feels to the touch. If you squeeze the tips of your index finger and thumb, the muscle on the thumb will tense a little – this is the feel of Medium Rare meat. If you lightly press the tip of your middle finger against the tip of your thumb, it will feel like Medium roast meat. Connecting the tip of your ring finger to your thumb will tighten the muscle even more. The same should be the meat prepared by Medium Well. Place your thumb on your little finger and touch a muscle to see how well-done meat will be.
  5. Depending on the type of meat, you can serve a different side dish to it. If we are talking about steaks, then vegetables are best suited here: baked, stewed, grilled, or in the form of various mashed potatoes from celery, potatoes, or pumpkin. Also, meat goes well with cereals: white rice, lentils, or buckwheat. Meat can also be served with new peeled potatoes, fried with onions and cherry tomatoes. Sweet and sour sauces made from wild berries are also perfect for meat.

Cooking the perfect juicy steak at home “like in a restaurant” is the cherished dream of many hostesses. However, after several unsuccessful experiments with making “rubber soles” instead of soft pink meat, it is so easy to despair and abandons this venture forever. But you just need to use the tips of the professionals and take into account all the subtleties.

Mastering the art of making juicy and mouth-watering steaks is not difficult. The main thing is to strictly follow several rules and remember the difficulties that both beginners and regulars of the kitchen may encounter.

  1. The steak should only be prepared with fresh, chilled meat. If the steak has been frozen, leave it in the refrigerator overnight.
  2. The meat is usually brought to room temperature before frying. Before frying, the meat should “warm-up” at room temperature for 1–2 hours. This way you will not only achieve even browning but will also be able to more easily control its degree.
  3. Control the dryness of the meat. In order not to smoke the entire kitchen and to fry the steak evenly, the surface of the meat should be perfectly dry. Wipe the meat dry before starting the cooking process.
  4. Use kitchen paper towels for this and never wash the meat before cooking.
  5. The width of the meat is also very important. Ideally, this is a piece of 2.5 to 4 centimeters.
  6. If you cut the meat yourself and at home, then it is worth remembering one simple rule: cut it strictly across the fibers.
  7. Don’t cook too many pieces at once. No more than 2 steaks should be laid out on 1 pan, otherwise, the surface temperature will drop sharply, and the meat, instead of golden brown, will begin to release juice.
  8. The result is a cooked steak, not a juicy one.
  9. Season the meat well. When it comes to spices, there is absolutely no need to be shy, because in many ways the very taste of a restaurant steak is due precisely to the generous amount of salt and pepper.
  10. Just before placing the cuts of meat in the preheated skillet, pepper them generously and salt on 2 sides, then proceed to fry.
  11. For steak, use a heavy skillet or grill pan. They make it easier for you to control the temperature and the frying process in general.
  12. For the perfect striped steak, use the cast iron ribbed grill pan. Dry and heat well until a slight haze appears. It is better to fry the steak itself without oil, otherwise, the whole kitchen will be covered with smoke.
  13. If the pan is not cast iron, then it is important to preheat the pan correctly. It should be very hot, but not smoke. Otherwise, the meat will burn on the outside before it has time to cook on the inside. The steak should sizzle when it comes into contact with the surface of the pan.
  14. It is better to start frying meat at high temperatures, and then switch to lower ones. This will ensure even roasting and prevent the meat from losing its flavor and color.
  15. When frying, the protein – primarily on the surface of the piece of meat – curls up and blocks the drainage of the liquid. Therefore, the meat is first quickly fried at a high temperature and then brought to a condition at a lower temperature.
  16. Typically, cook a medium-rare steak for 4 minutes on each side.
  17. Meat with the blood takes 1-3 minutes.
  18. Fully fried steak is fried for 3 minutes on each side over high heat and then cooked until fully cooked for 6-8 minutes.
  19. However, you should still carefully monitor the meat, because the cooking time can vary depending on several factors. When the steak reaches a temperature of 40 ° C, proteins begin to break down, then, after 50 ° C, collagen shrinks, at 70 ° C the meat ceases to retain oxygen and becomes gray. Cutting across the grain allows high-temperature streams to pass through the piece of meat. After the steak has been removed from the heat, it continues to heat up from the inside.
  20. The steak can be flipped frequently. This will ensure even frying, and the edges of the steak will not dry with this technique. If you decide to turn it over rarely, only 2-4 times during the cooking process, then the final result will be a beautiful lattice pattern. However, only if you are grilling the steak.
  21. And if you want to get a beautiful mesh on the surface of the steak, first fry the piece for 1.5 minutes, then turn it 90 degrees and hold it in the pan for another 30–45 seconds. Then follow the same procedure on the other side.
  22. Forget about forks. To prevent the juice from leaking out of our perfect steak, turn it over with culinary tongs, not with a fork.
  23. You can check the readiness of the steak with your fingers. To do this, lightly press down on the steak with your fingertip. The bloody steak is soft and pliable to the touch; well done – hard; medium roast is a cross between the two previous options.
  24. Bring the steak until tender. Preheat the oven to 190 degrees and after browning the steak on both sides, use the tongs to place the meat in a baking dish. Cover the tin with foil and bake for 10-12 minutes for filet mignon or 7-8 minutes for flat steaks.
  25. Remove the meat from the oven and, without removing the foil, hold for 10-15 minutes at room temperature, then serve.
  26. You should not neglect this rule, because this is the only way to get a really juicy, mouth-watering, and delicious dinner.
  27. The steak is best served on warm plates. Knives must be sharply sharpened.

Nothing beats homemade cake. But to avoid culinary failure, you need more than just a good recipe.

  1. How to knead the dough correctly. The texture of the cake depends on the ratio of the ingredients used and the method by which they are mixed.
  2. Screening. Flour is sold pre-sieved these days, so there is usually no need to sift it again. But there are exceptions: the flour for the biscuit needs to be sieved to saturate it with oxygen and provide a light texture to the cake, and flour mixtures containing spices, cocoa powder and soda require sifting to remove any lumps.
  3. Whipping. The butter and sugar are usually whisked until lightening, and only then the rest of the ingredients are added. This saturates the dough with air, and the finished cake is fluffy and tender. Do not overdo it: after adding eggs and flour, the dough must be mixed gently, otherwise the texture of the cake will become heavy and grainy.
  4. Cake molds. The recipes are for specific cakes, so it’s important to use the sizes shown. The cake will not stick to the mold if you first grease it with butter and sprinkle with flour. You can also cover the mold with non-stick paper.
  5. Cooling. When you remove the cake from the oven, let it cool for 5-10 minutes before turning onto the wire rack to cool. Don’t leave it in the mold for longer, or it will get damp. If the cake is stuck, run the knife along the sides of the baking dish. Remove the non-stick baking paper immediately.
  6. Applying cream or glaze. Glaze the chilled cake by placing a piece of baking paper under the wire rack. The excess cream will drain freely and not accumulate at the base, while baking paper will help keep the table from staining.
  7. Eggs. Use fresh medium-sized eggs (55-60g). Remove them from the refrigerator at least an hour before kneading the dough to warm them up to room temperature.
  8. Butter. Use butter at room temperature. To quickly soften butter, simply microwave it for 20 seconds or grate it on a medium grater.
  9. Milk and fermented milk products. Always use room temperature kefir, milk or sour cream to prevent stratification of the dough.
  10. Flour. Self-rising flour already contains baking powder, but if you only have plain flour on hand, add 2 tsp. baking powder for 1 cup of plain flour.
  11. Sugar. This is what gives the cake its structure. For a finer texture, use fine sugar, powdered sugar, or light brown sugar – these will dissolve faster in the dough.

We’ve put together helpful tips and tricks to help you avoid dirtying your dishes, avoid culinary mishaps, and make divinely delicious baked goods.

  1. Do not use glasses for measuring. In recipes, the amount of ingredients is often determined by the glasses. This method is not very reliable, if only because at the exit each chef can get a different weight of the product. In addition, you can be mistaken by measuring half or a third of the glass by eye. It is better to buy a kitchen scale and follow the recipes that indicate the exact weight of the ingredients.
  2. Cover the scale with a paper towel. Ingredients such as cocoa often crumble and stain the surface of kitchen scales. To avoid this, simply cover it with a paper towel and throw it away after weighing. The scale will stay perfectly clean.
  3. Determine the age of the eggs. Eggs of different ages may be required to create certain confectionery products. For example, ice cream is good for fresh eggs, and meringues are good for older ones. You can determine your age with a bowl of water. Put an egg in it: if it falls to the bottom, then it is fresh; if it rises with a blunt end up, it means that it is older; if the egg pops up like a float, it is better to throw it away.
  4. Break the eggs into separate dishes. If you break an egg straight into a bowl of dough, it is likely that shell particles will also fall into it. Therefore, it is better to prepare the eggs separately and then add them to the general container. If a mistake has already been made, you can remove the shell after the cake is cooked and cooled. All the shells will sink to the bottom and can be easily removed.
  5. Be careful when mixing dry ingredients. To avoid a hurricane of flour and other bulk ingredients while using the mixer, add small portions to a bowl and start stirring at minimum speed. Cover your work surface with paper towels for extra protection.
  6. Use different utensils for sweet and savory foods. To avoid odd tastes in baked goods, divide your knives, spatulas, and planks into the ones you use for savory and sugary foods. This way, your cake will definitely never turn salty.
  7. Mix the sticky ingredients with the confectionary sugar. Pieces of sticky ingredients (like marzipan or dates) tend to clump together into a huge sweet bite. You can prevent this by adding a couple of tablespoons of confectionery sugar to them.
  8. Pick up heavy ingredients. Foods like raisins, nuts and frozen berries often end up at the bottom of baked goods. You can fix this by mixing them with a little cinnamon, cocoa powder, or flour. Choose the right ingredient depending on the recipe.
  9. Use butter to remove the stickiness from the dough. To prevent the dough from sticking to your hands, it is often advised to use flour. But there is another way – canola (rapeseed) oil. Lightly wipe your palms and work surface with it – the dough will not stick and no excess flour will appear in it.
  10. Cool the liquid quickly in an ice bath. If you need to quickly chill sweet cream, pour it into a metal saucepan and place it in a large bowl of cold water. Metal helps heat to escape quickly, and cold to penetrate. Note that the larger the pan, the faster the hot cream will cool down.

The most important tips for the perfect soufflé:

  1. Perfectly beaten egg whites should be thick and not sag!
  2. Observe the amount of ingredients, cooking times and temperatures exactly!
  3. Choose a cylindrical baking dish that’s smooth on the inside!
  4. Lubricate the mold before placing the soufflé in it.
  5. Don’t overfill the baking dish to allow the mixture to rise!
  6. After filling, immediately place the dish in a water bath in a preheated oven!
  7. Don’t open the oven too early!
  8. Serve this gourmet dish ASAP!