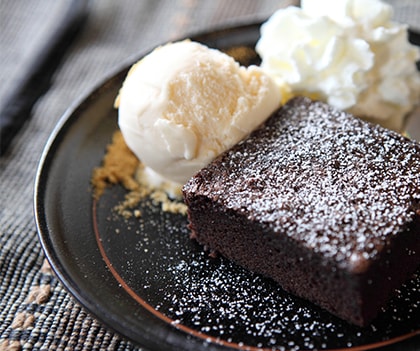
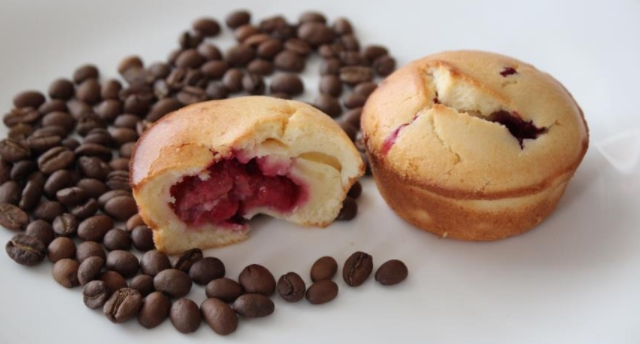
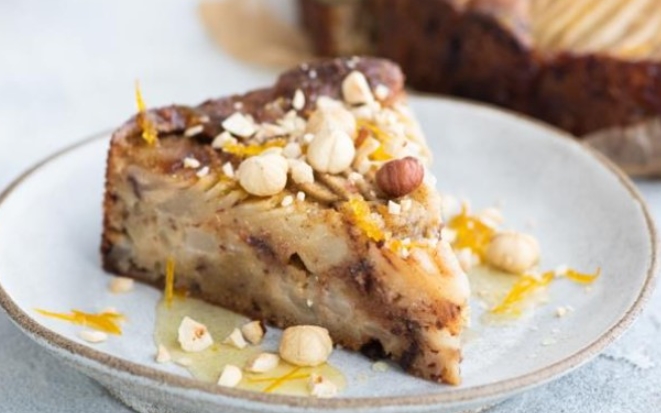
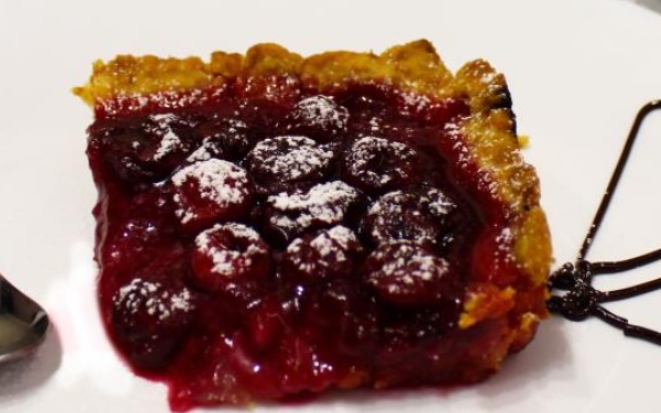
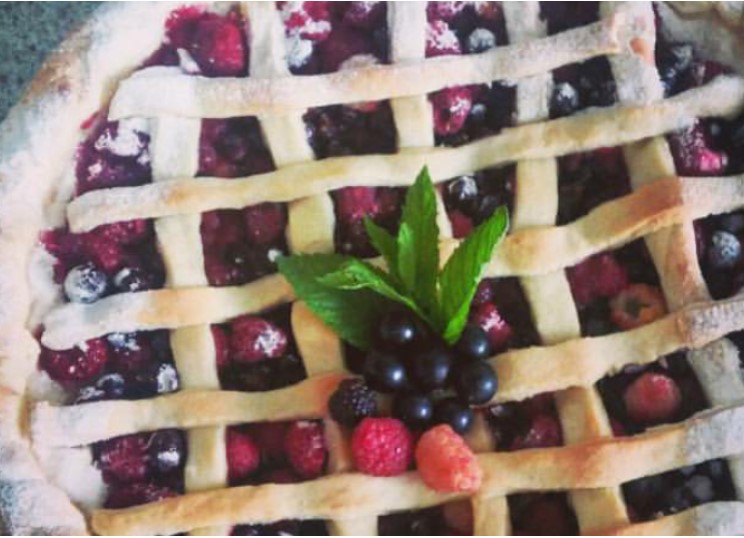
Cake "Drunken Cherry" is an adored classic. There are a lot of options for preparing this dessert, but there is no unambiguously correct recipe. Each housewife prepares this cake according to her taste and preferences. I offer you my repeatedly proven recipe for chocolate cake with cherries.
Cake "Drunken Cherry" is an adored classic. There are a lot of options for preparing this dessert, but there is no unambiguously correct recipe. Each housewife prepares this cake according to her taste and preferences. I offer you my repeatedly proven recipe for chocolate cake with cherries.
Sign up to receive email updates on new recipes.
FoodNerdy is a powerful platform to manage and keep your recipes You do not need any experience in web development, It is very easy to use and customize
Some example text some example text. John Doe is an architect and engineer
.jpg)