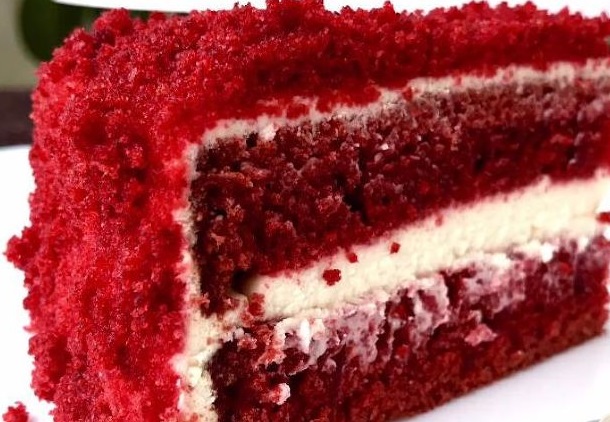
The cake according to this recipe is not only beautiful, but also very tasty. The sponge cake is juicy, light and fragrant, and the Red Velvet cake itself looks great.
The cake according to this recipe is not only beautiful, but also very tasty. The sponge cake is juicy, light and fragrant, and the Red Velvet cake itself looks great.
Sign up to receive email updates on new recipes.
FoodNerdy is a powerful platform to manage and keep your recipes You do not need any experience in web development, It is very easy to use and customize
Some example text some example text. John Doe is an architect and engineer
.jpg)