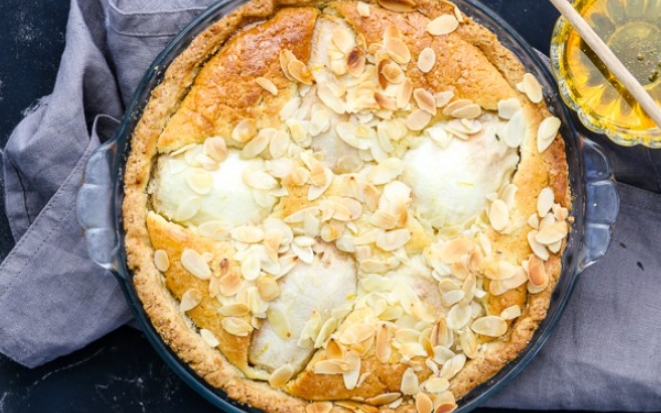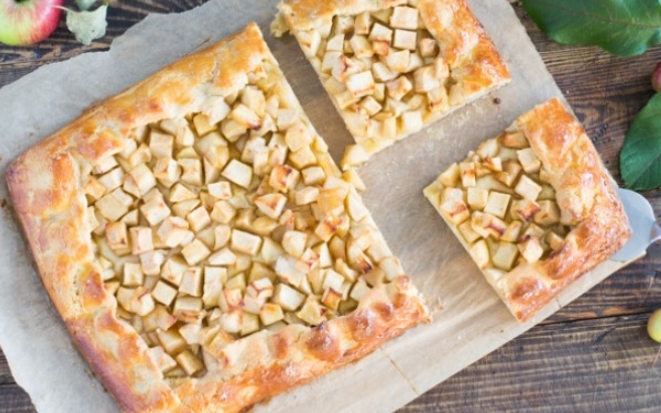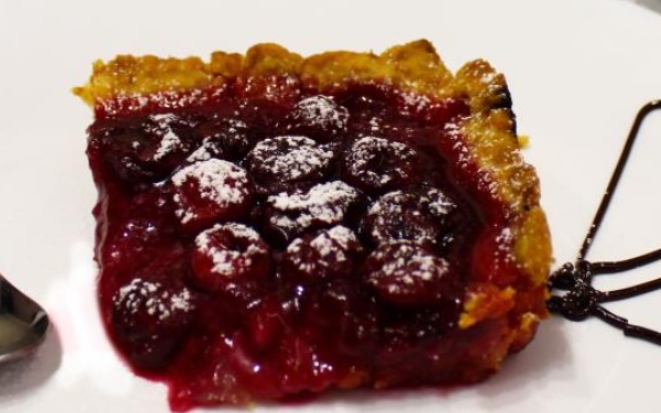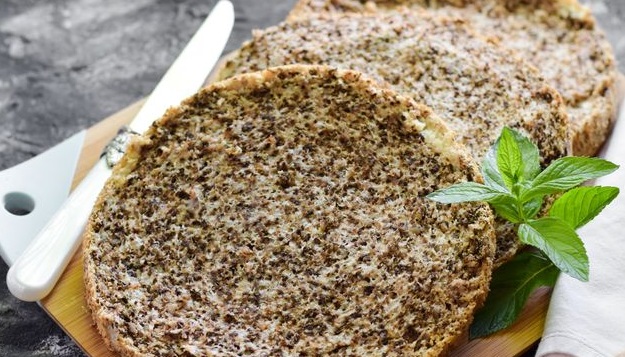
Nut biscuit on egg whites - moderately sweet, moist, with a porous texture, ideal for cakes and pastries. Egg yolks are not added to the dough - I use them for custard. For such a biscuit, condensed milk cream and many other layers are also suitable. Be sure to try, experiment - I'm sure many will like this biscuit.
Nut biscuit on egg whites - moderately sweet, moist, with a porous texture, ideal for cakes and pastries. Egg yolks are not added to the dough - I use them for custard. For such a biscuit, condensed milk cream and many other layers are also suitable. Be sure to try, experiment - I'm sure many will like this biscuit.
Sign up to receive email updates on new recipes.
FoodNerdy is a powerful platform to manage and keep your recipes You do not need any experience in web development, It is very easy to use and customize
Some example text some example text. John Doe is an architect and engineer
.jpg)