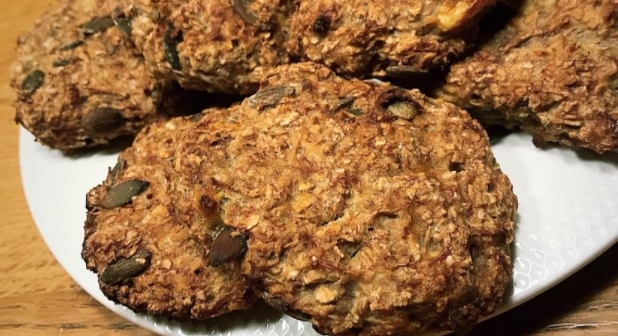
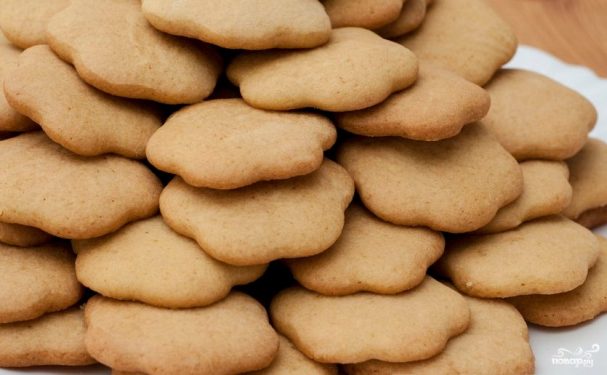
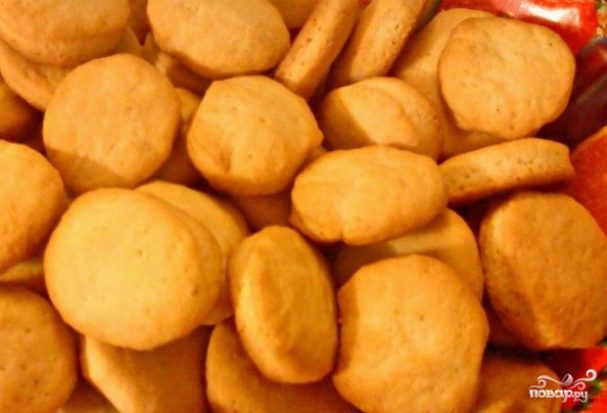
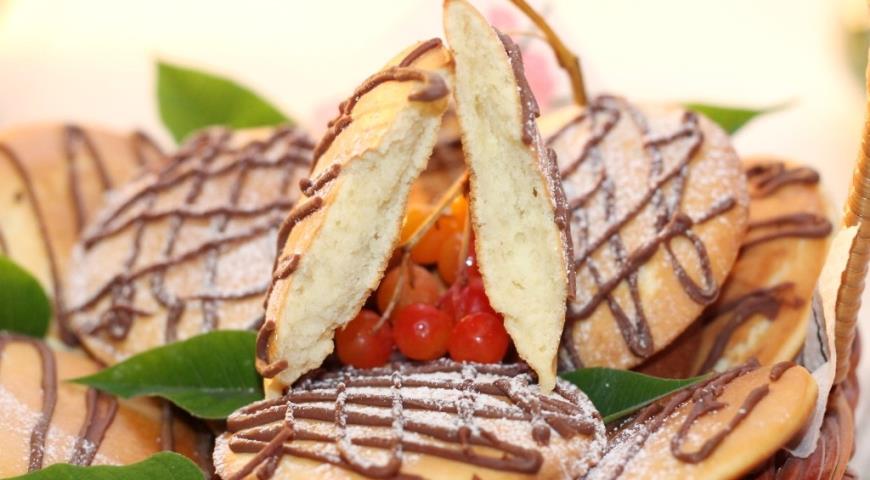
There are such types of cookies, which are perceived in my family as seeds - it is impossible to come off until you swallow a whole mountain. As a rule, all variants of shortbread sugar cookies are perfect for this role, a simple recipe for which was somehow given to me by my friend from the United States, who knew how to cook whole works of art from literally any products lying in the refrigerator. The most delicate structure, excellent aroma and amazingly enticing taste make this product incredibly attractive for young families who cannot afford expensive ingredients or long standing in the kitchen. Today I decided to write for you "the very" recipe for a very tasty cookie called "Sugar" in accordance with GOST, so that you can click it in the evenings, like real seeds.

There are such types of cookies, which are perceived in my family as seeds - it is impossible to come off until you swallow a whole mountain. As a rule, all variants of shortbread sugar cookies are perfect for this role, a simple recipe for which was somehow given to me by my friend from the United States, who knew how to cook whole works of art from literally any products lying in the refrigerator. The most delicate structure, excellent aroma and amazingly enticing taste make this product incredibly attractive for young families who cannot afford expensive ingredients or long standing in the kitchen. Today I decided to write for you "the very" recipe for a very tasty cookie called "Sugar" in accordance with GOST, so that you can click it in the evenings, like real seeds.
Sign up to receive email updates on new recipes.
FoodNerdy is a powerful platform to manage and keep your recipes You do not need any experience in web development, It is very easy to use and customize
Some example text some example text. John Doe is an architect and engineer
.jpg)